Support
Have any questions about Duplicate Photo Fixer Pro? Please Email us at support@tweaking.in.
 Duplicate Photo Fixer Pro
- Download and install Duplicate Photo Fixer Pro.
- Once installed, launch the tool to remove duplicate & similar photos.
- Next, add photographs using either of the three buttons:
- Add Photos - allows adding photos stored in different folders.
- Add Photos Library -scan Photos Library by granting access to Duplicate Photo Fixer.
- Add Folder - add a complete folder filled with photos for scanning for duplicate and similar images.

- After adding pictures to scan, select the comparison method to check photos -
- Exact Match - detect exact replicas of images.
- Similar Match (Recommended) - detects similar images with edits and slight modification. To get better results, using the Similar Match option is suggested.

Note - Similar Match option allows adjusting matching criteria. This gives more control over the type of similar images that will be identified.

- Once all the changes are done, select the type of images you would like to scan - Captured or Imported (Photos Library) and the duration before clicking Scan for Duplicates.
Captured - scans images based on the captured date.
Imported Photos Library only - scans images imported to Photos Library only.


However, if you want to scan all images, check the box next to Scan all Images.

- Now that all the settings are done click Scan for Duplicates and wait for the operation to finish.

- Review scan results and mark the duplicates you would like to clean. Using the slider, you can alter the Matching Level, and beneath each image, you will see its Metadata.

- To auto-select duplicates, use the Auto Mark option (magic wand icon). If you have hundreds of thousands of duplicates, this option makes selection quick and easy. Also, you can customize Auto Mark Rules from the Preference window.

- Once done, review marked items and click Trash Marked.

- Confirm the operation by clicking Trash Photos. The selected images will then be moved to Bin.

That's it; using these simple steps, you can clean duplicate and similar-looking images from your Mac.
- Launch Duplicate Photo Fixer Pro
- Add the images using either of the options - ''Add Photos,'' ''Add Photos Library,'' or ''Add Folder.''

-
From the right pane of the application, select the ''Similar Matched (Recommended)'' option.

- Navigate to ''Time Interval'' and adjust the slider as per your requirement. Using it, you can compare photos clicked within 24 hours or less (as shown in the screenshot below).

- Next, click the ''Scan for Duplicates'' button and wait for the process to finish.
- You will now get photos clicked within the selected time interval.
At any given point of time, if you have any questions regarding the Duplicate Photo Fixer Pro, send an email with your query to support@tweaking.in.
- Photos shot in quick succession (burst mode).
- Slightly edited images.
- Photos with different contrast, color, or brightness level.
- Identical photos clicked within the last 24 hours.
- Pictures clicked within a distance of 100 meters.
Note: - To recover disk space and for best results, we recommend you delete these photos from Bin.
Yes, a significant amount of disk space (depending on the size of duplicate photos) is recovered after cleaning duplicates.
Note: Duplicate Photo Fixer Pro moves deleted duplicate photos to Bin. This means to recover space; you have to clean the bin.
Yes, Duplicate Photo Fixer Pro identifies duplicate video when you use the Exact Match option.
To ensure the setting is enabled follow these steps:
- Launch Duplicate Photo Fixer Pro
- Click Duplicate Photo Fixer Pro > Preferences

- Click the General tab.
- Here make sure the option next to Scan video files in Exact Match, is marked.

- once that is confirmed, close the Preference box > add the videos to scan > select Exact Match > click Scan for Duplicates.
- Review scan results and remove duplicate videos.
To access Automark Preferences, follow these steps:
- Launch Duplicate Photo Fixer Pro
- Click Duplicate Photo Fixer Pro from Menu bar > Preferences. (as shown in the screenshot below) :

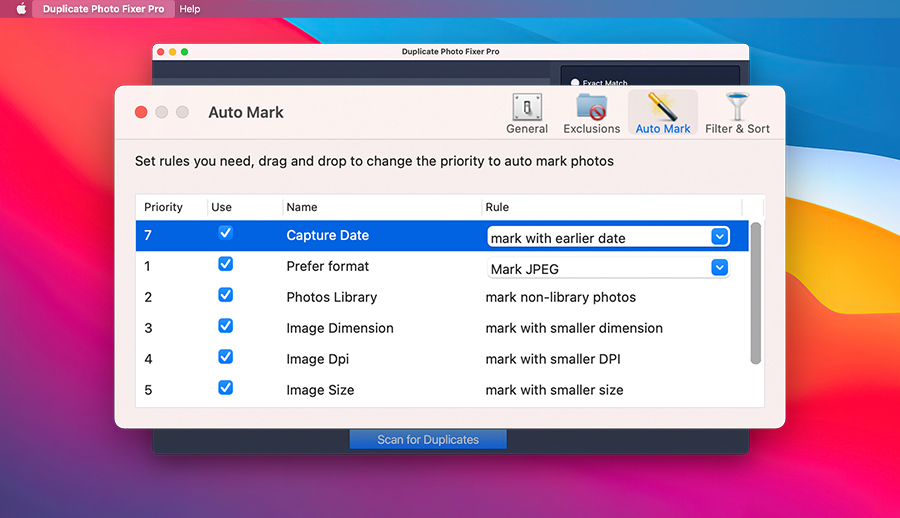
- Click the Auto Mark tab and set the rules (priority) for AutoMark.

To edit Automark Preferences, follow these steps:
- Launch Duplicate Photo Fixer Pro
- Click Duplicate Photo Fixer Pro from Menu bar > Preferences. (as shown in the screenshot below) :

- Click the Auto Mark tab and set the rules (priority) for AutoMark.
For e.g. To AutoMark images based on Capture Date followed by Modification Date and so on, you need to select the rule you wish to change and drag it. This will reposition the priority and the images will now be auto marked accordingly (refer to the screenshot below).
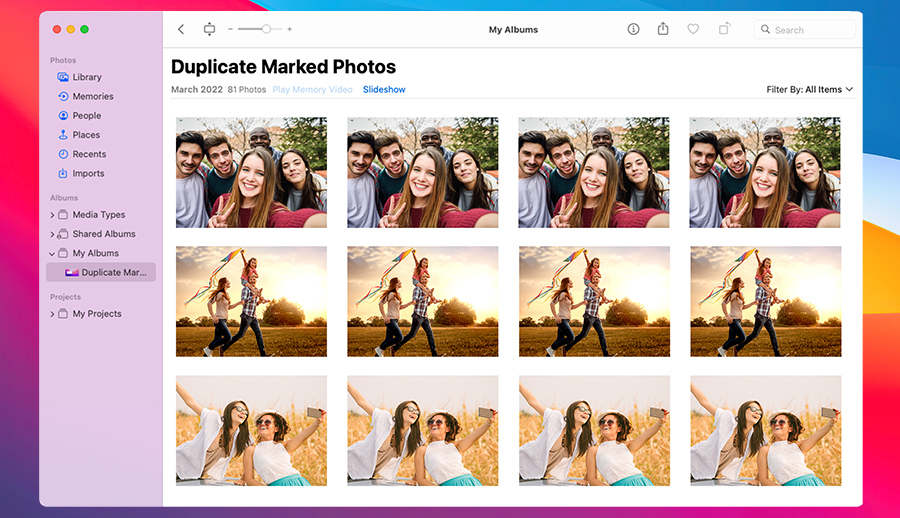
- Launch Photos Library
- Look for Duplicate Marked Folder in the right pane.
- Select the photos you see there > Right click and press the Option Key > this will change remove 2 Photos from Album option to Delete 2 Photos > click on it to remove duplicates.
2 is the number of selected photos.Note: To delete duplicate marked photos, you need to keep the Options key pressed. If you leave it the photos will not be removed.

Note: If you think that deleting an album can help, then remember deleting the album will not delete automarked duplicates. You need to delete them using the steps mentioned above.

- Once this is done, you will see deleted photos under the Recently Deleted folder. From here you can either select and delete them or can just leave these photos there, as they will be automatically deleted after 30 days.


To add a folder to the exclusion list follow these steps:
- Launch Duplicate Photo Fixer Pro
- Click Duplicate Photo Fixer Pro > Preferences
- Select Exclusions tab > click the + icon to add a folder and - to delete it

Filter & Sort helps select or unselect a File type to scan.
- Launch Duplicate Photo Fixer Pro
- Click Duplicate Photo Fixer Pro > Preferences
- Select Filter & Sort and check/uncheck file types to filter photos being added to scan.

Duplicate Photo Fixer Pro (For Windows Store)
1. Launch Duplicate Photo Fixer.
2. Click on Upgrade Now orange button at the bottom left corner.
3. You'll now be asked to login to your Microsoft account.
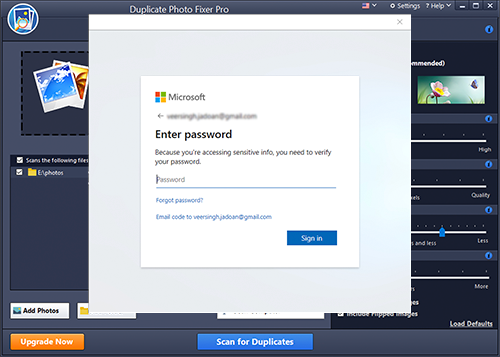
4. Sign in to your account to proceed.
5. Next, if no payment mode is added, you will be asked to add a mode of payment.
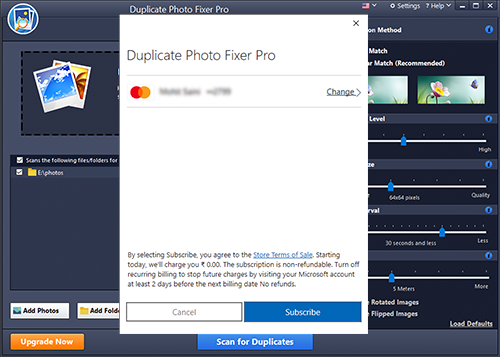
6. Once done, make a purchase.
7. After the purchase is made, you will see that Upgrade Now button changes to Registered version.
You can now use full version of Duplicate Photo Fixer and delete scanned duplicate photos.
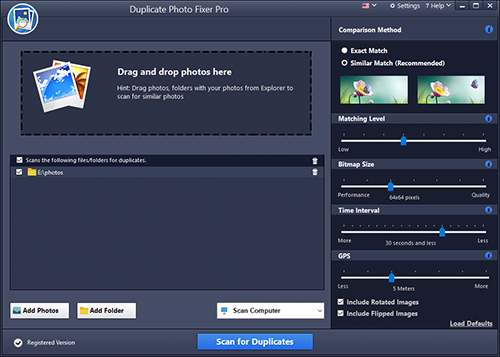
1. Launch Duplicate Photo Fixer Pro
2. Add photos, folders or drag photos to the scanning list.
3. Select the match type and adjust matching criteria towards the right panel of the application screen.

4. Click on "Scan for Duplicates" button.

This will display results of duplicate & similar photos in groups. You can then delete photos you do not want to keep.
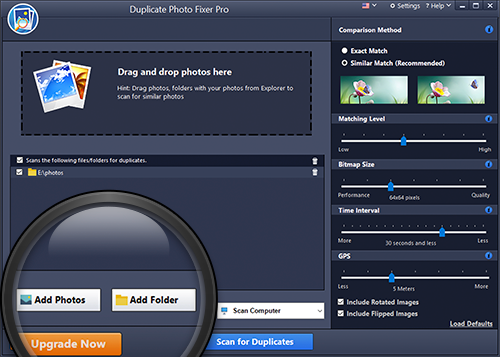
1. Launch Duplicate Photo Fixer Pro
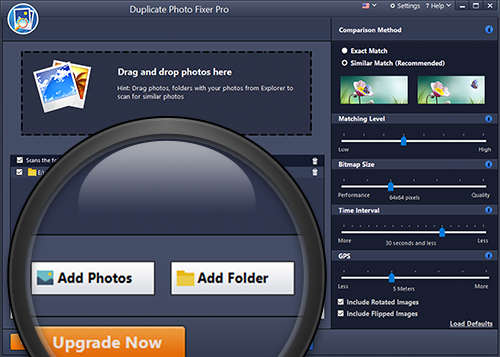
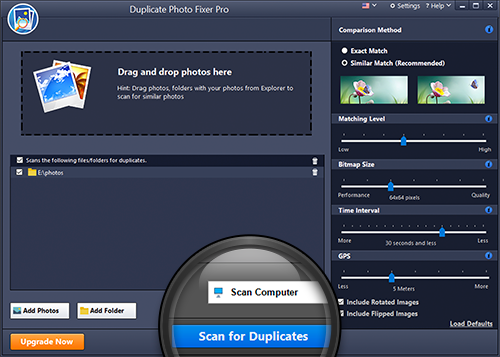
2. Towards the bottom of the application screen, either click on "Add Photos" or "Add Folder" to add photos to the comparison list (as shown in the screenshot below).
3. On the right panel of the application, select "Similar Match (Recommended)" option (as shown in the screenshot below).
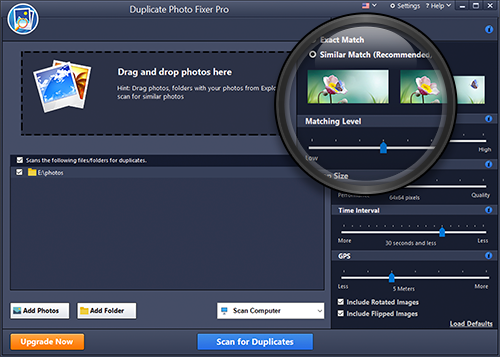
4. From the available criteria, navigate to "Time Interval" and adjust the slider as per your requirement for comparison of photos clicked within 24 hours or less (as shown in the screenshot below).

5. Now click on "Scan for Duplicates" button (as shown in the screenshot below). Those photos will be displayed that were clicked within the time slot you set.
1. Photos shot in quick succession in burst mode
2. Slightly photoshopped photos
3. Photos having a different contrast, color or brightness level
4. Identical photos clicked within the last 24 hours
5. Identical photos clicked within a distance of 100 meters